

Microsoft Copilot
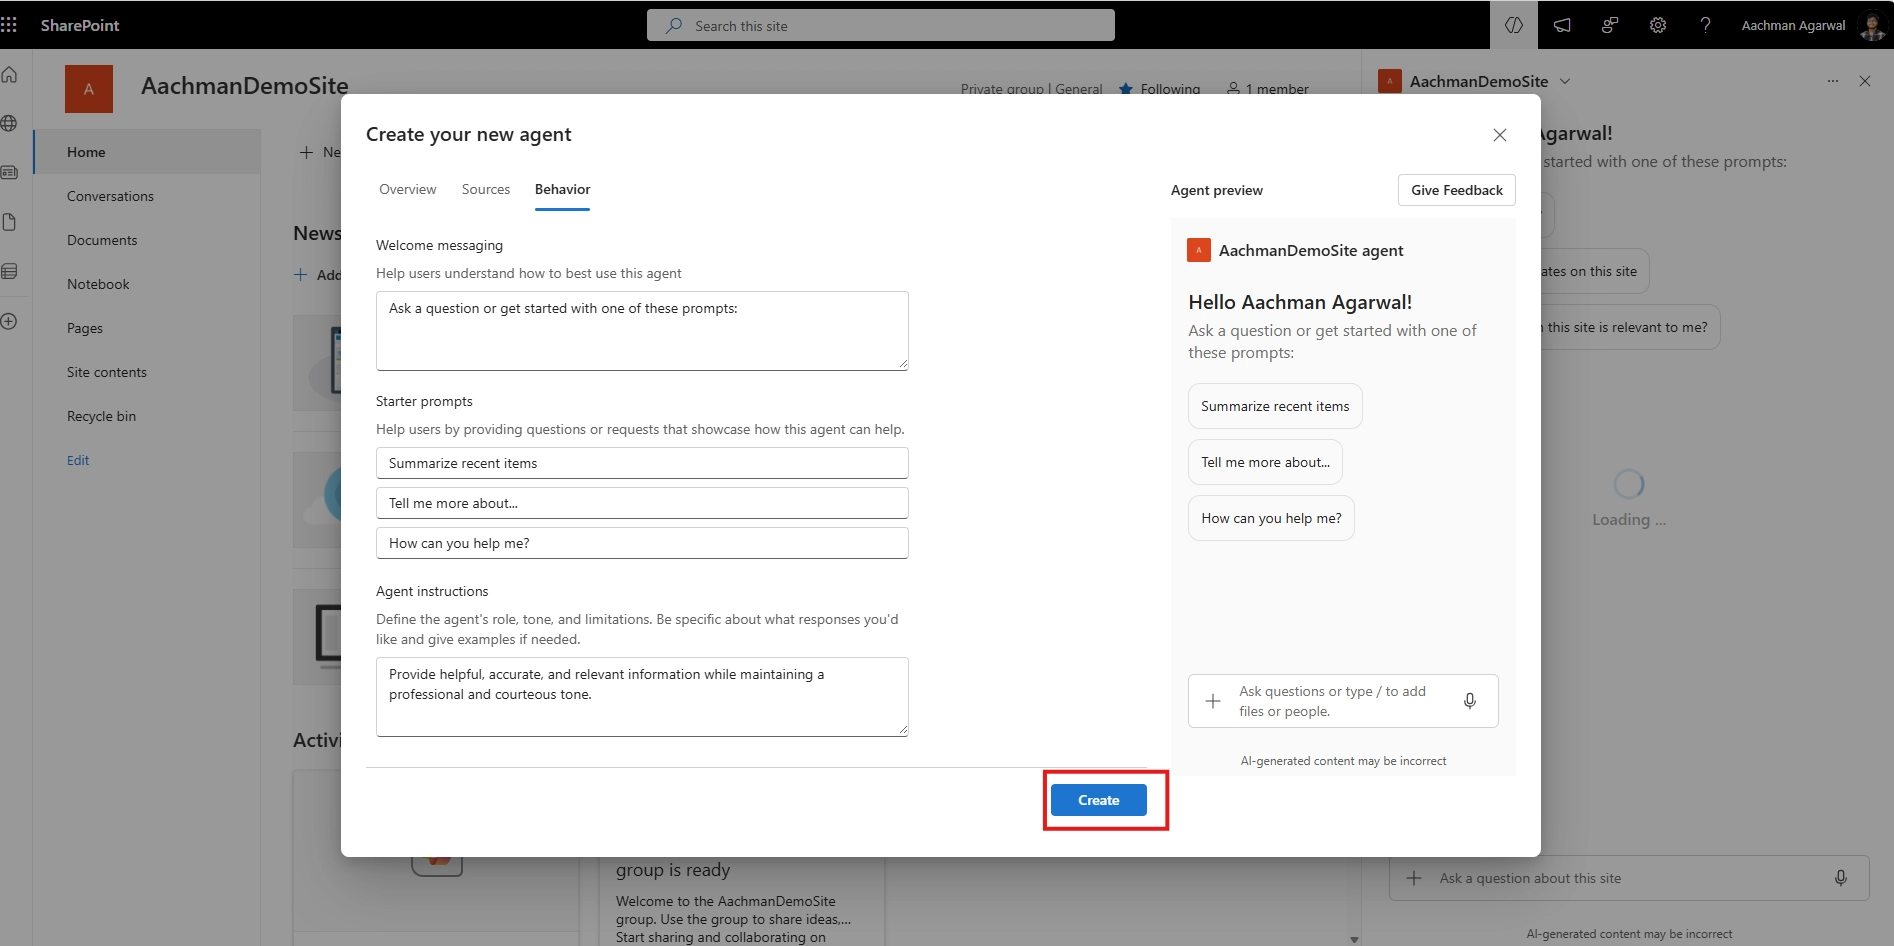
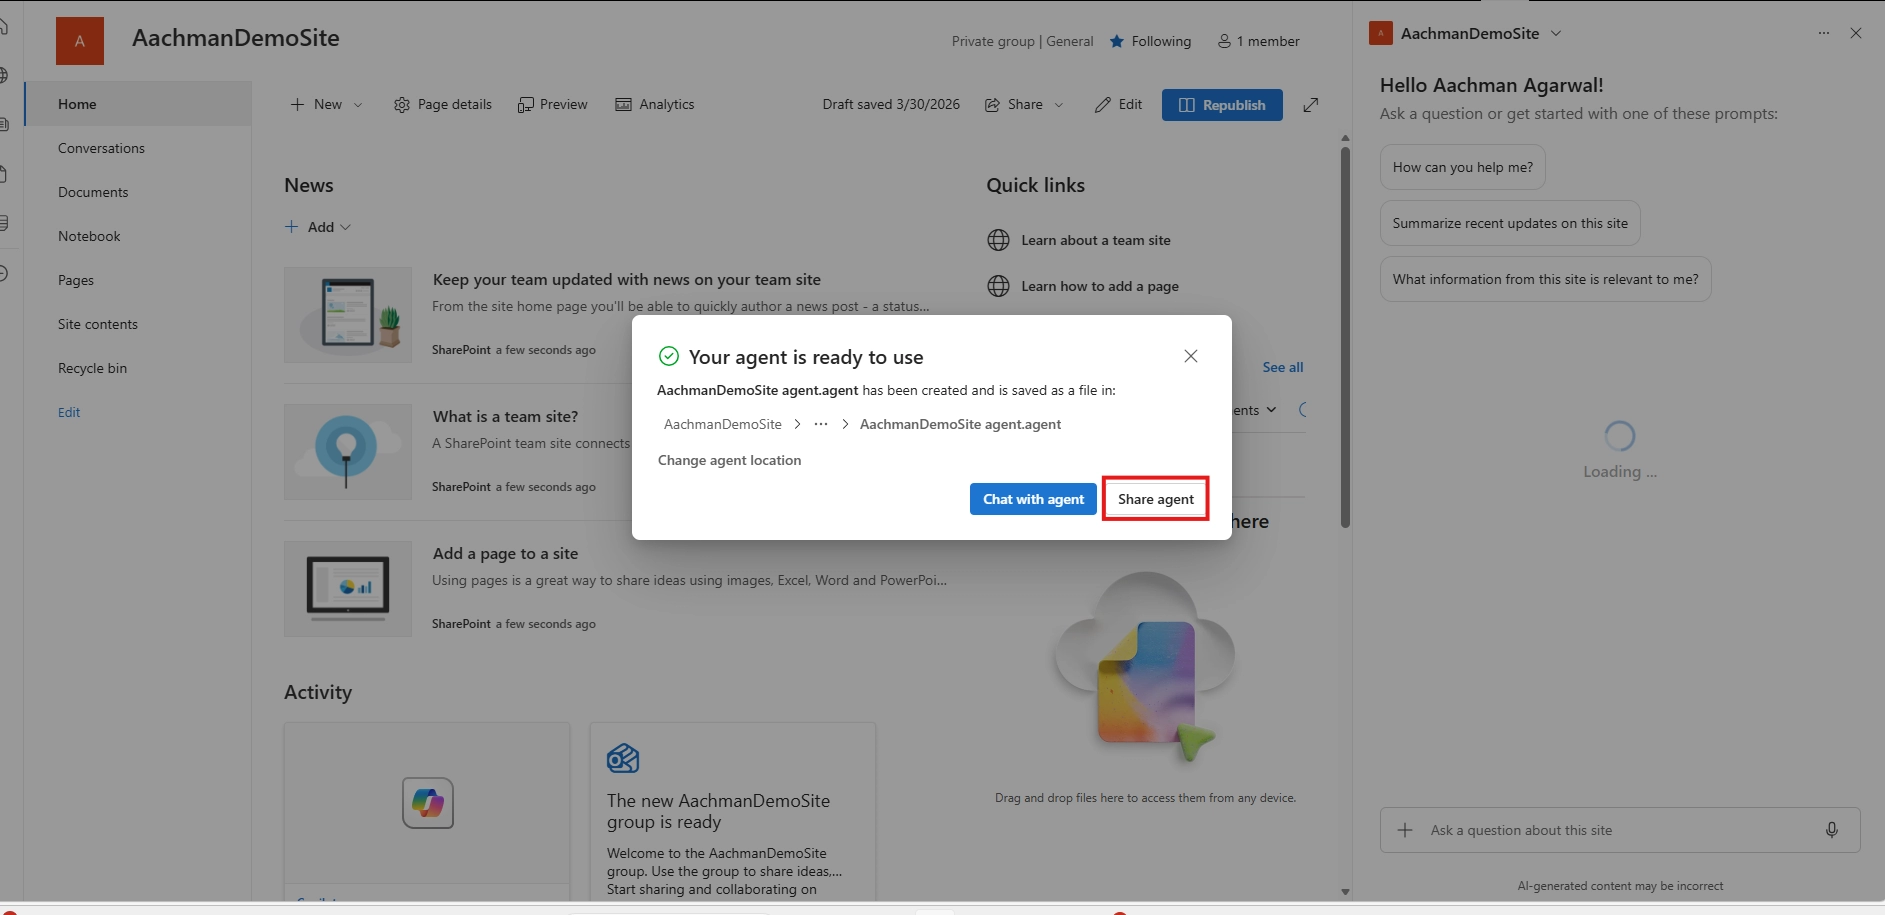
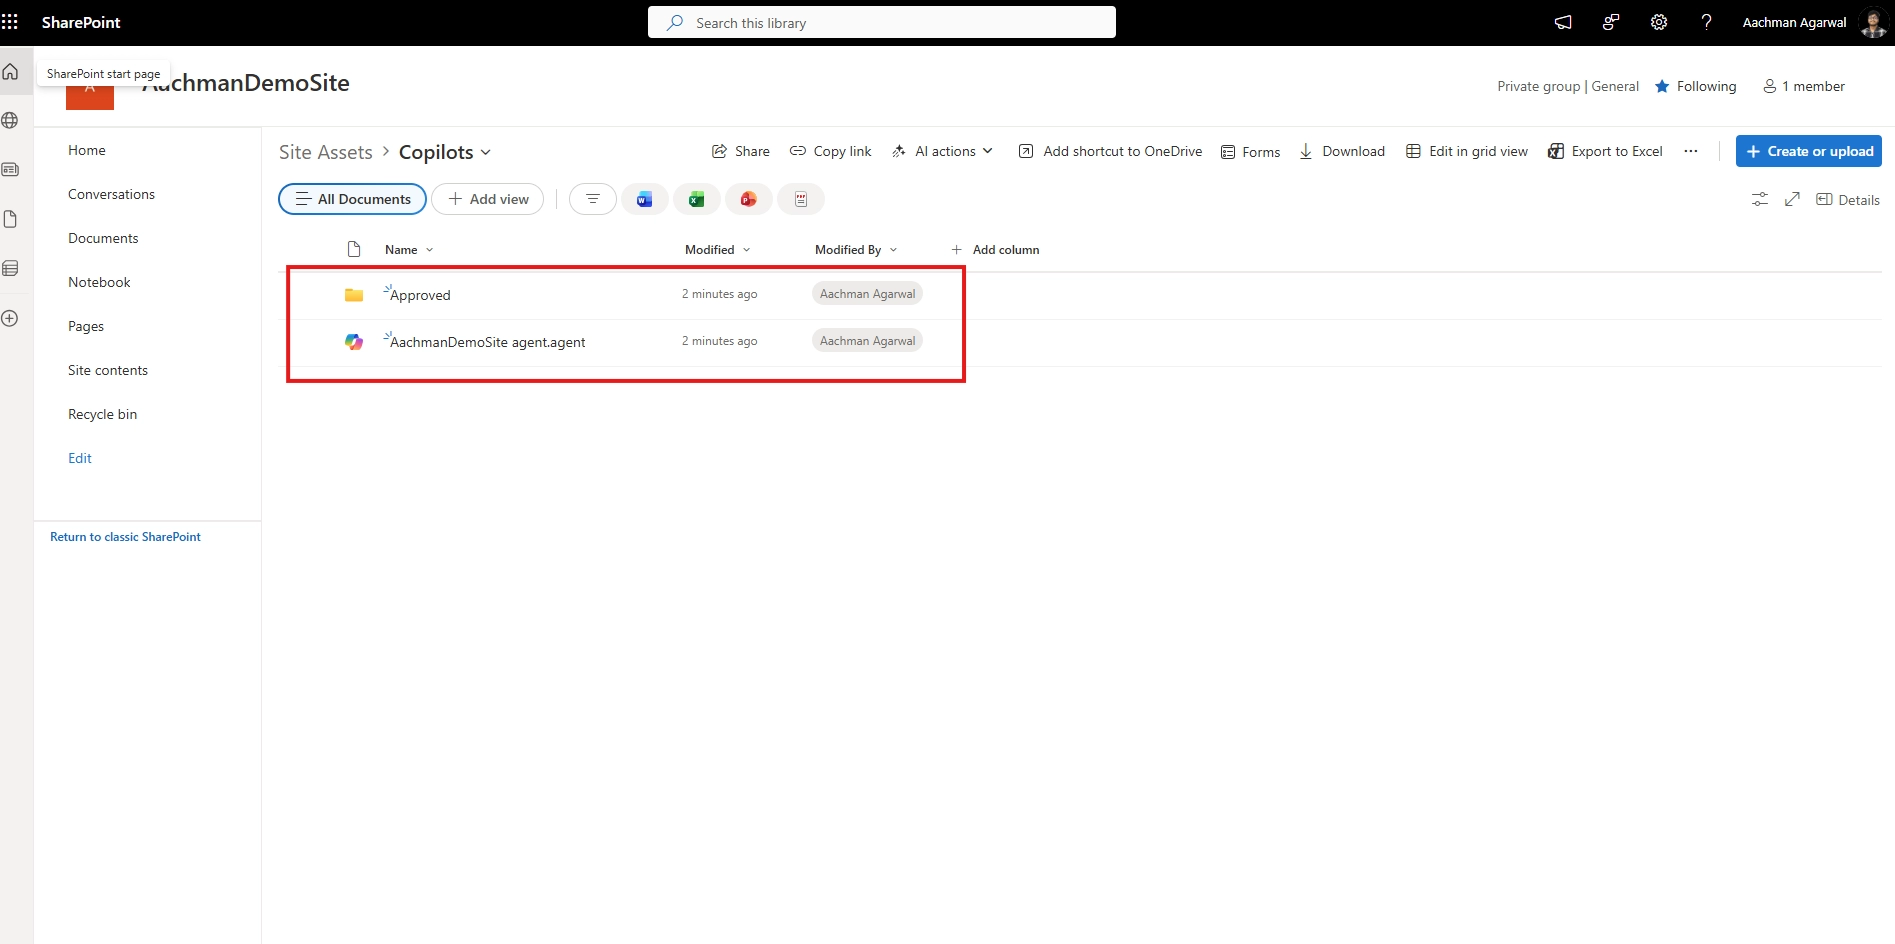
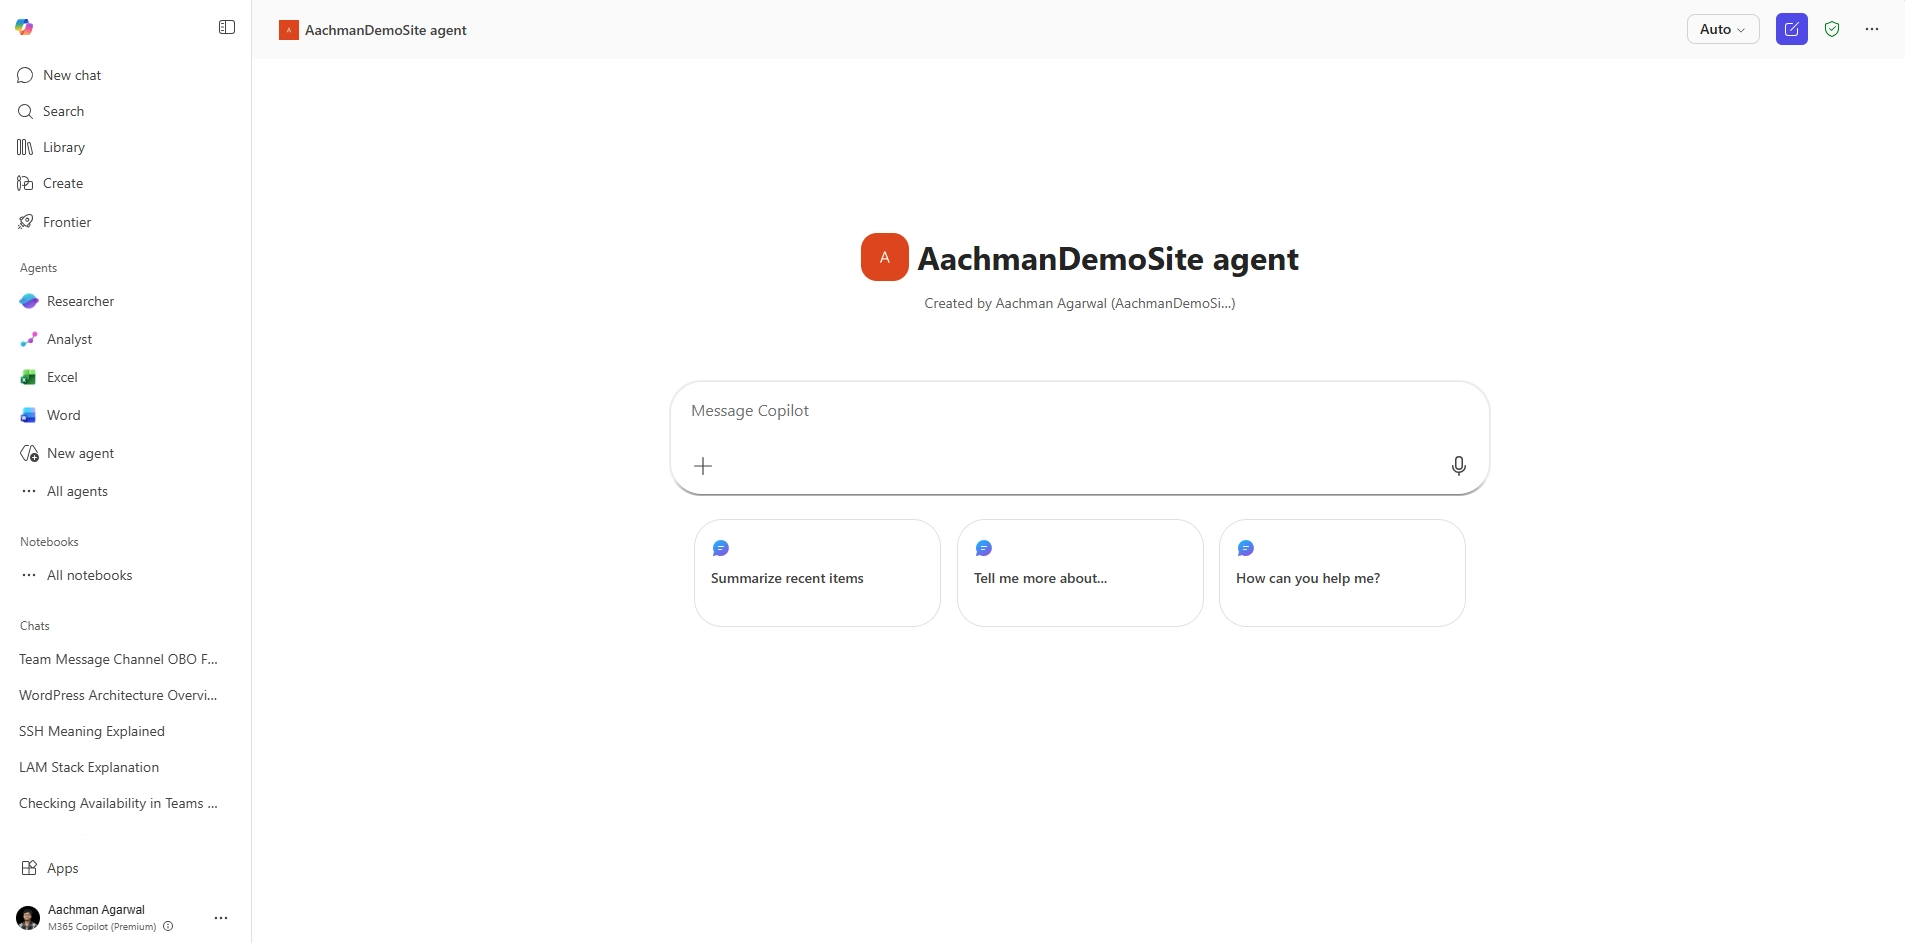
Securing Copilot Studio Agents: What Organizations Miss Until It’s Too Late
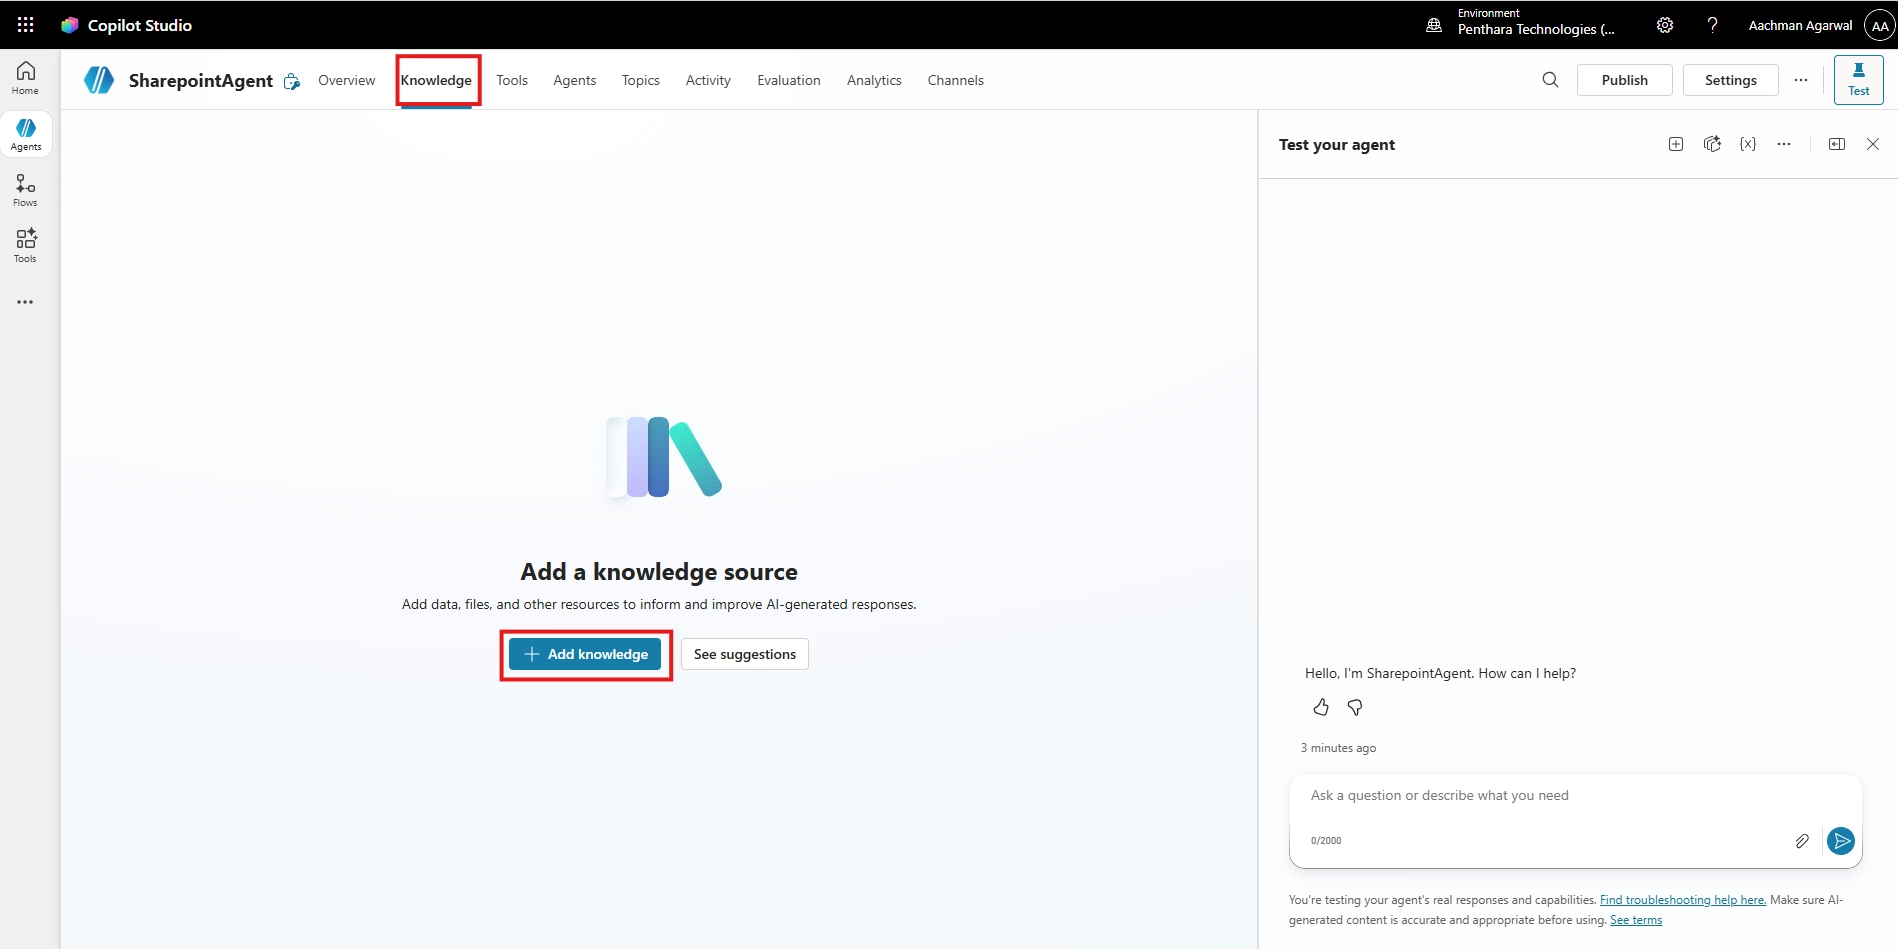
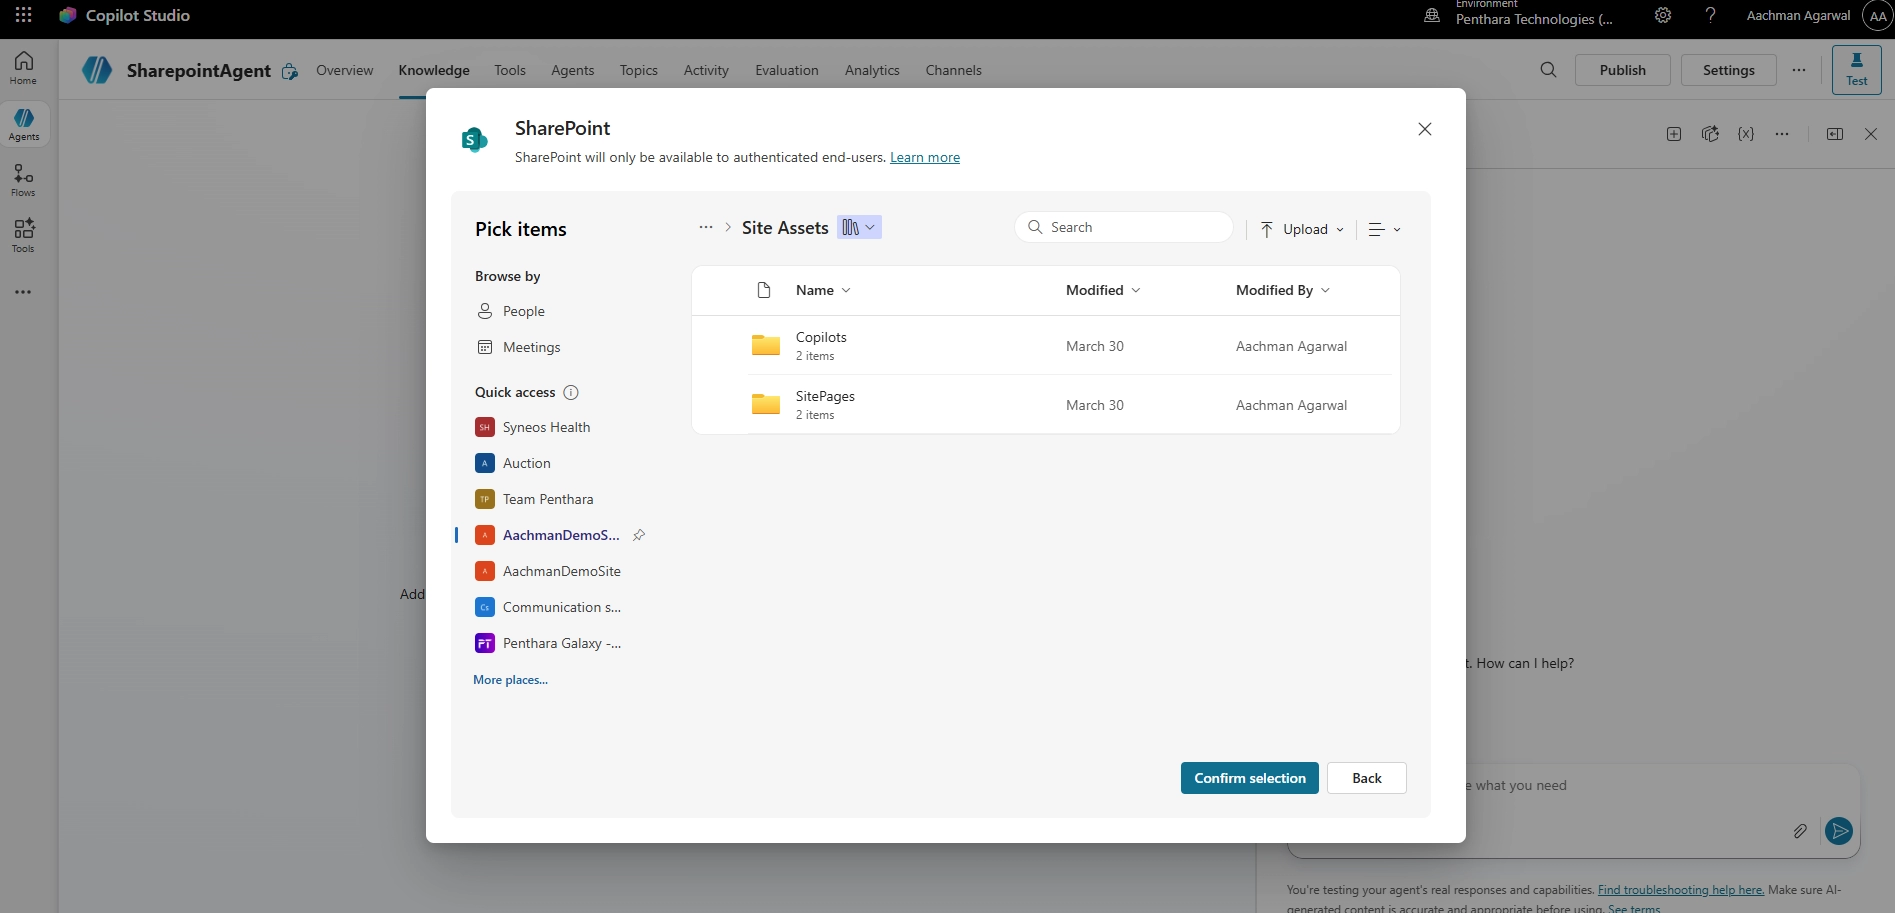
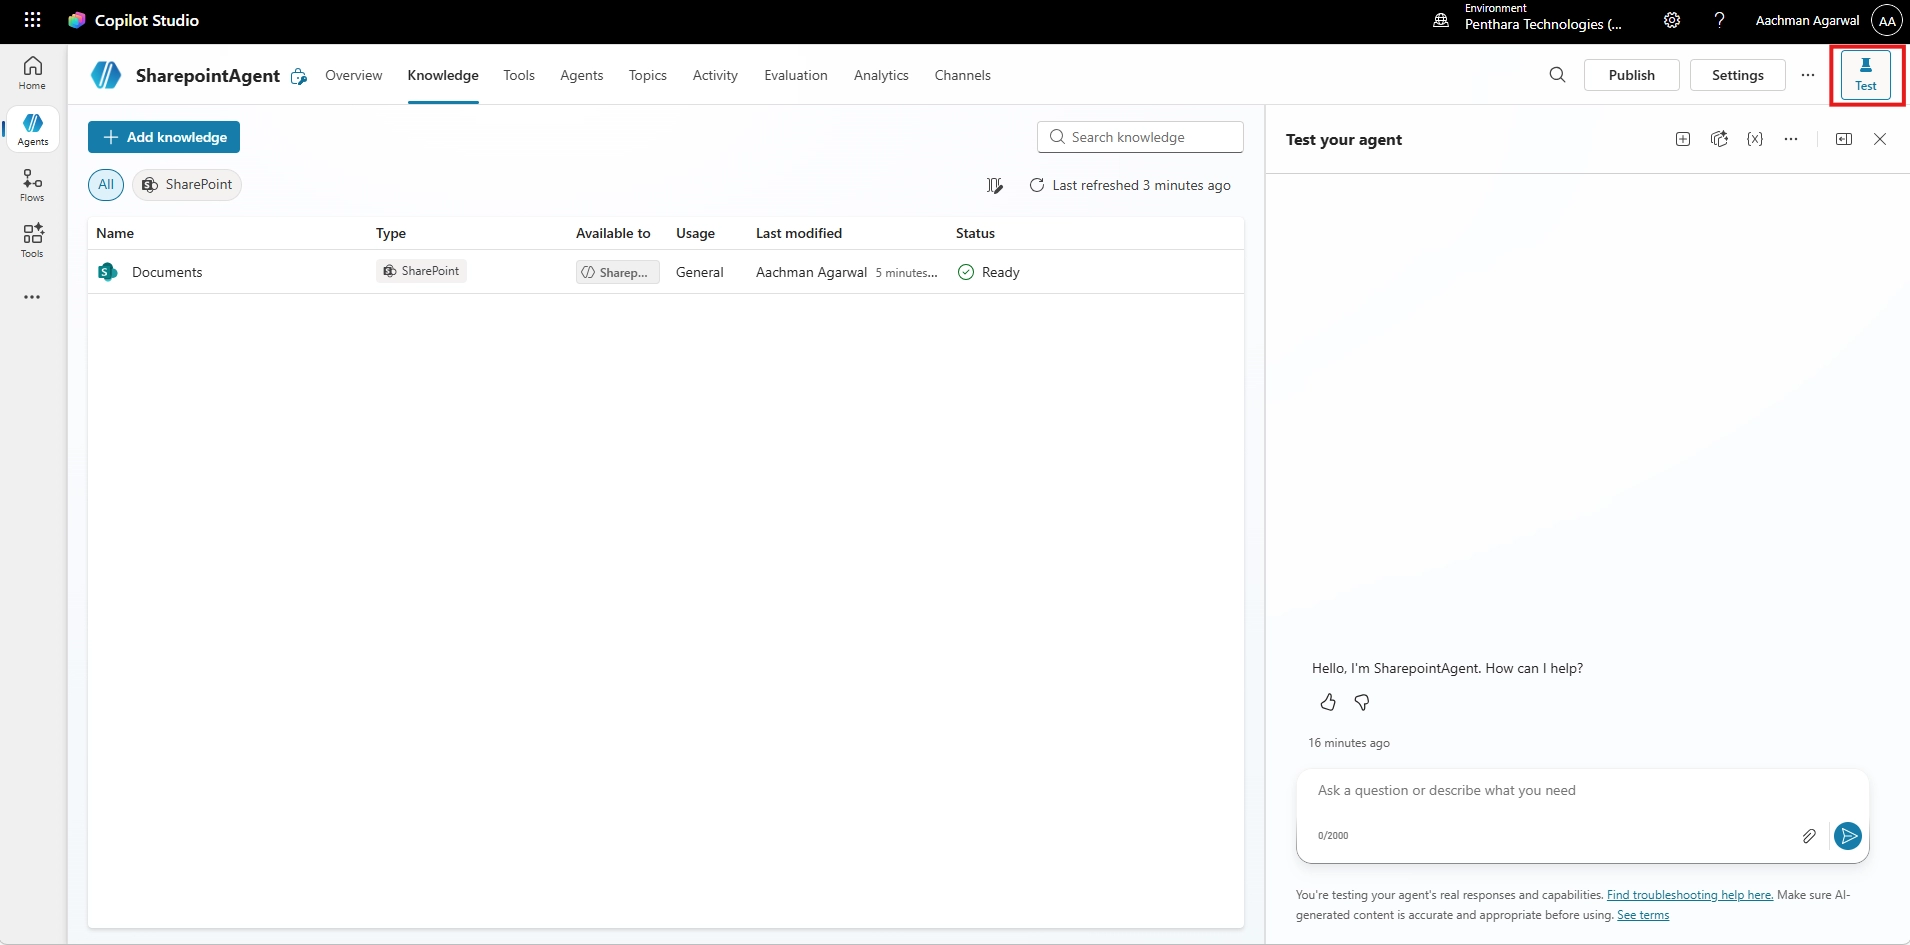
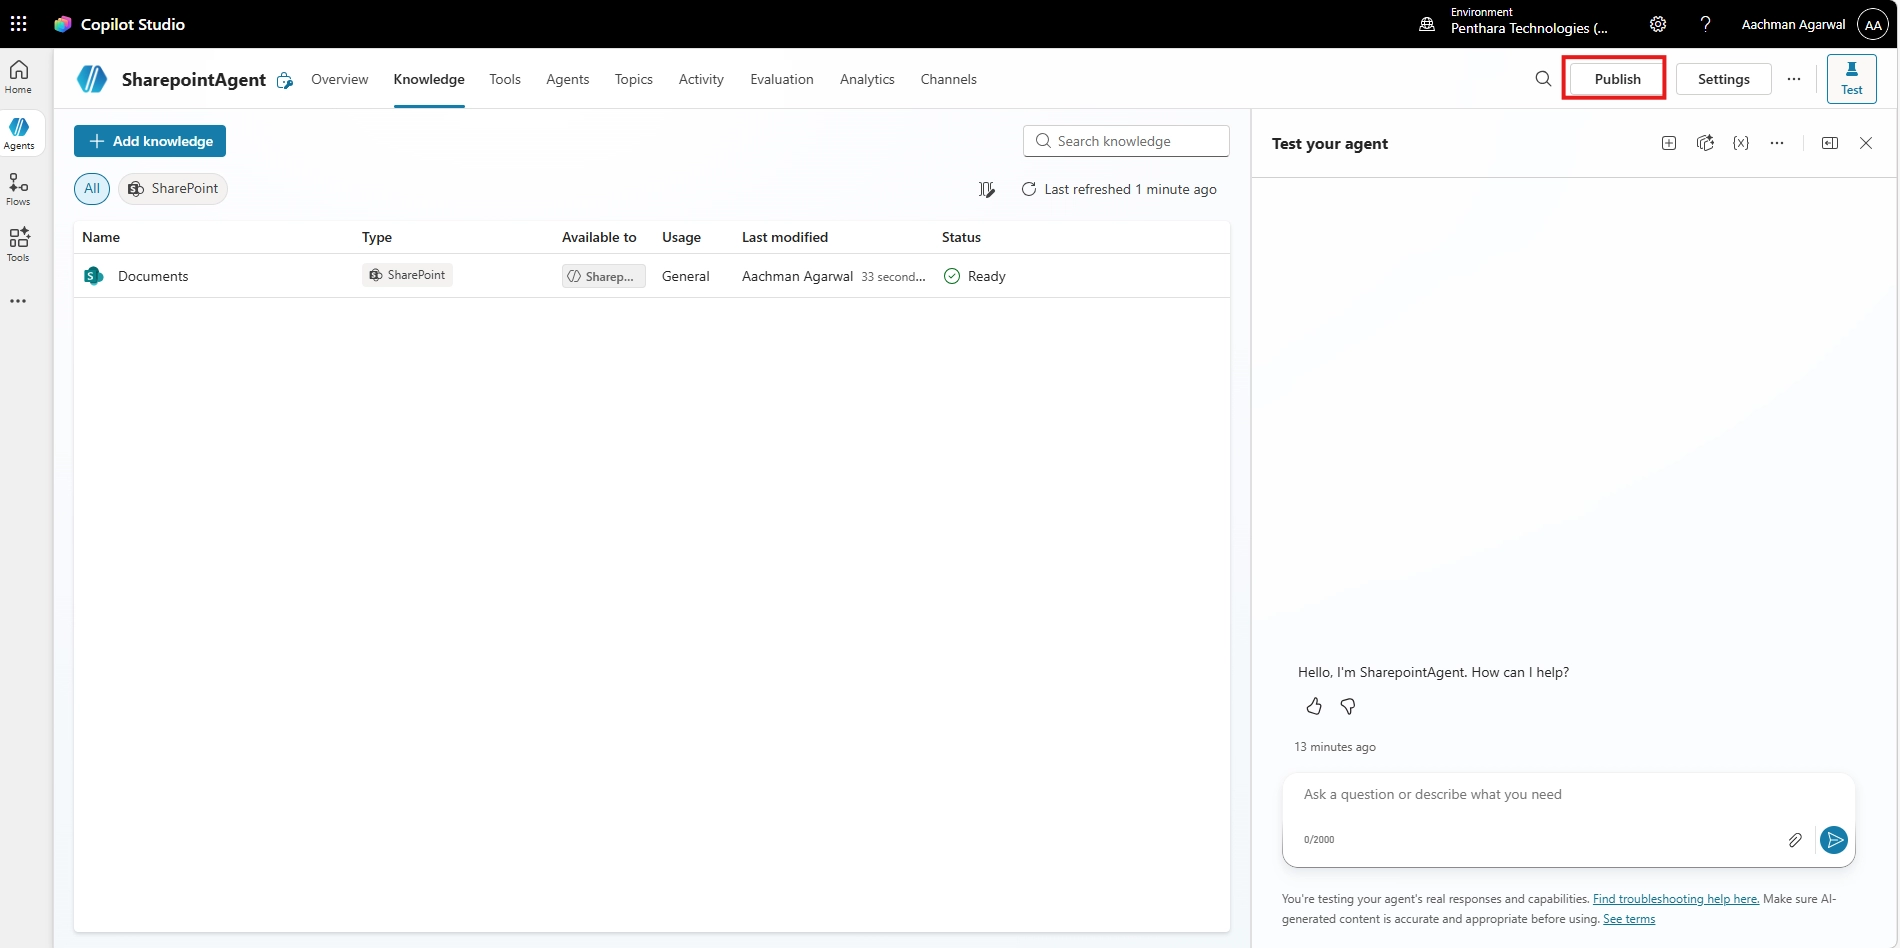
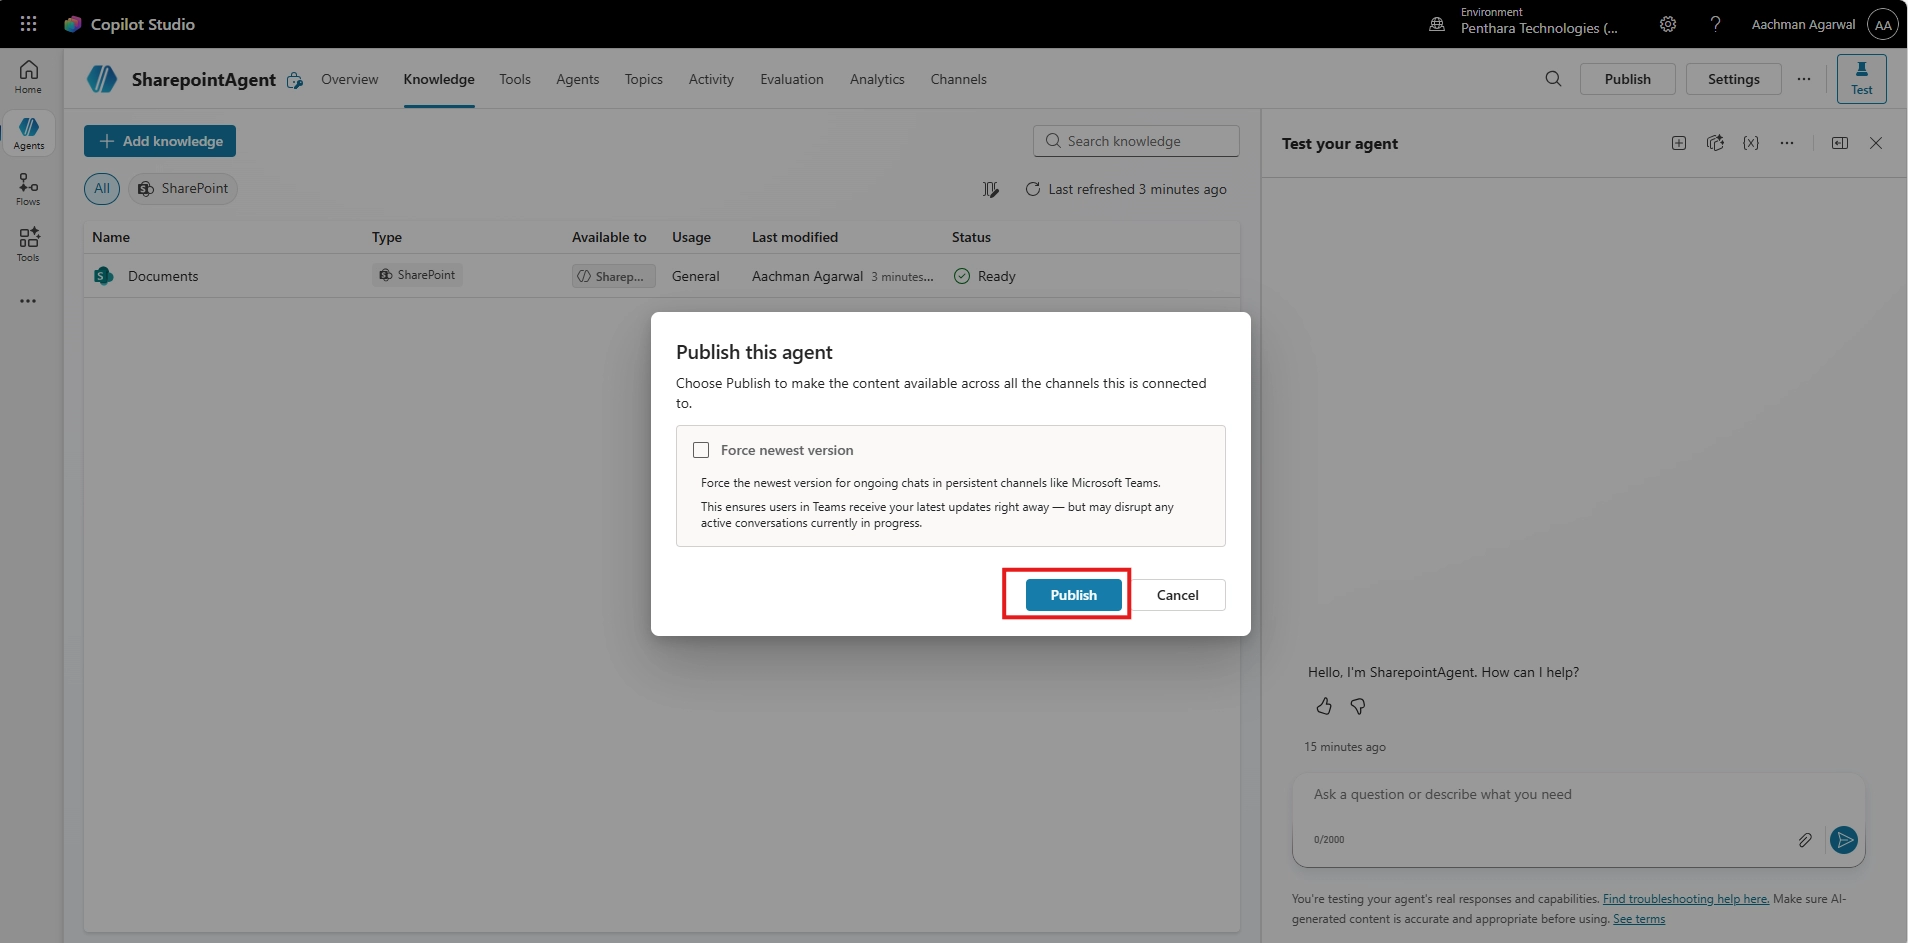
Learn how to secure Copilot Studio agents with best practices for authentication, DLP, runtime protection, compliance, and governance to prevent...